Creating multiplayer games in Unity has become increasingly popular among game developers. With the rise of online gaming, players now expect to connect and compete with friends or strangers across the globe. Learning how to make a Unity game multiplayer opens up exciting possibilities for game designers and programmers alike.
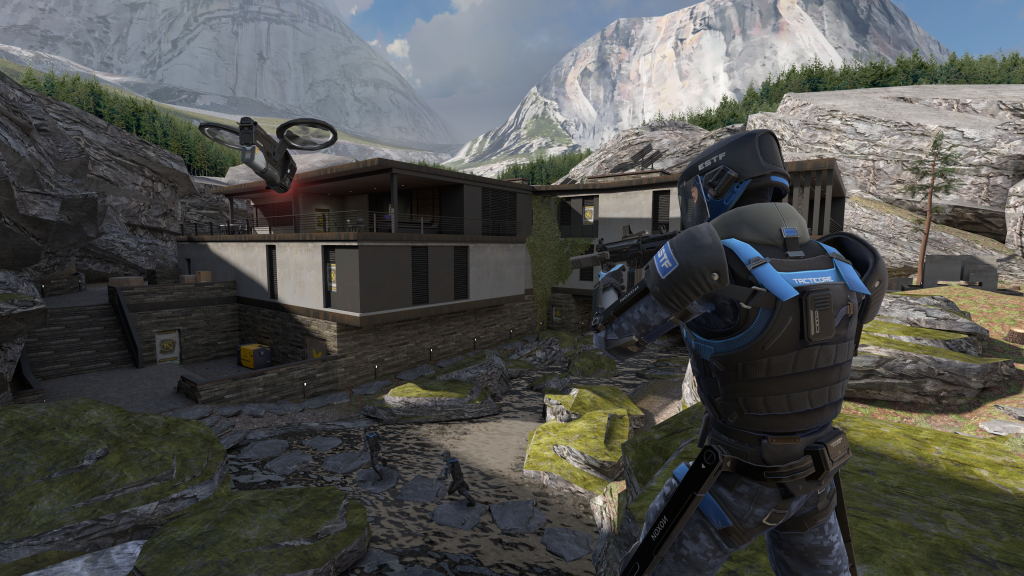
This guide will walk you through the process of transforming a single-player Unity game into a multiplayer experience. We’ll cover setting up your project, creating player prefabs, synchronizing movement, implementing network variables, and using Remote Procedure Calls (RPCs). You’ll also learn about Unity’s networking solutions, including Mirror, and how to use a network manager to handle connections. By the end, you’ll have the knowledge to build and test your own multiplayer Unity game.
Setting Up Your Unity Project for Multiplayer
To transform a single-player Unity game into a multiplayer experience, developers need to set up their project correctly. This process involves installing the necessary packages and configuring the Network Manager, which is crucial for handling multiplayer functionality.
Installing Required Packages
The first step in setting up a Unity project for multiplayer is to install the required packages. One essential package is the Multiplayer Play Mode (MPPM), which allows developers to test multiplayer functionality within the Unity Editor. To install MPPM, developers need Unity Editor version 2023.1 or later and an active project in Unity Hub.
To install MPPM, developers should follow these steps:
- Open Unity Hub and select the desired project.
- In the editor’s menu bar, navigate to Window > Package Manager.
- Click the plus sign in the Package Manager status bar and select “Add package by name…”
- Enter “com.unity.multiplayer.playmode” in the pop-up window and select Add.
Once the download is complete, Multiplayer Play Mode will appear under Unity Technologies in the Package Manager window. To access the MPPM window, developers can navigate to Window > Multiplayer Play Mode.
Another useful package for multiplayer development is the Multiplayer Tools package. This package includes features such as the profiler and runtime stats monitor. To install it, developers can follow a similar process, entering “com.unity.multiplayer.tools” in the Package Manager.
Configuring the Network Manager
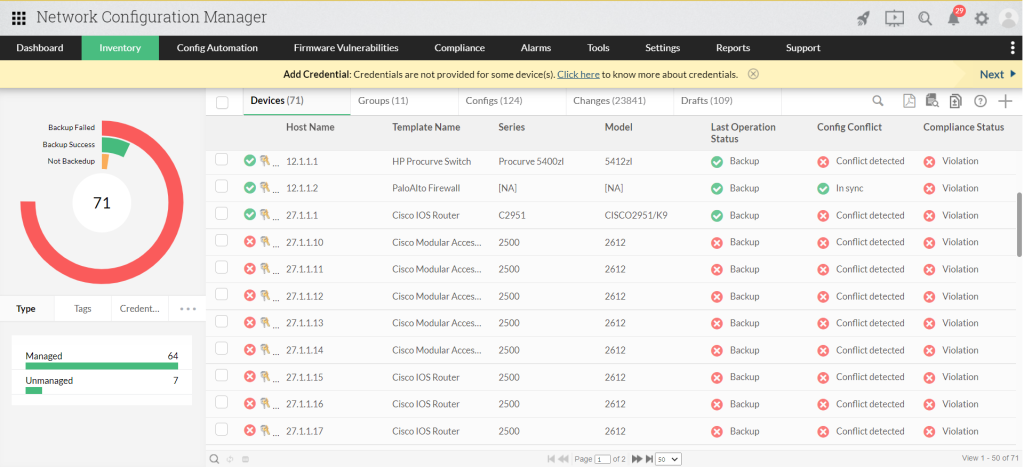
The Network Manager is a crucial component for managing the network state of a multiplayer game. It wraps up useful functionality into a single place, making it easier to create, run, and debug multiplayer games.
To set up the Network Manager:
- Create an empty GameObject in the starting scene.
- Add the NetworkManager component from the Network/NetworkManager menu item.
- In the Inspector, configure the Network Manager settings.
The Network Manager has several important features, including game state management, spawning management, scene management, and debugging information. It can be used entirely without scripting, as it has Inspector controls in the Editor that allow configuration of all its features.
For advanced users, it’s possible to derive a class from NetworkManager and customize its behavior by overriding virtual function hooks.
When configuring the Network Manager, developers should pay attention to the following settings:
- Network Port: This becomes the listen port when a server or host is started.
- Network Address: This is the address to connect to when a client is started.
- Player Prefab: Set this to automatically spawn player GameObjects for each user in the game.
- Spawn List: Add prefabs here to automatically register them with the client scene.
By properly setting up the Unity project for multiplayer, developers lay the foundation for creating engaging multiplayer experiences. With the required packages installed and the Network Manager configured, they can move on to more advanced aspects of multiplayer game development, such as synchronizing player movement and implementing network variables.
Creating and Configuring Player Prefabs
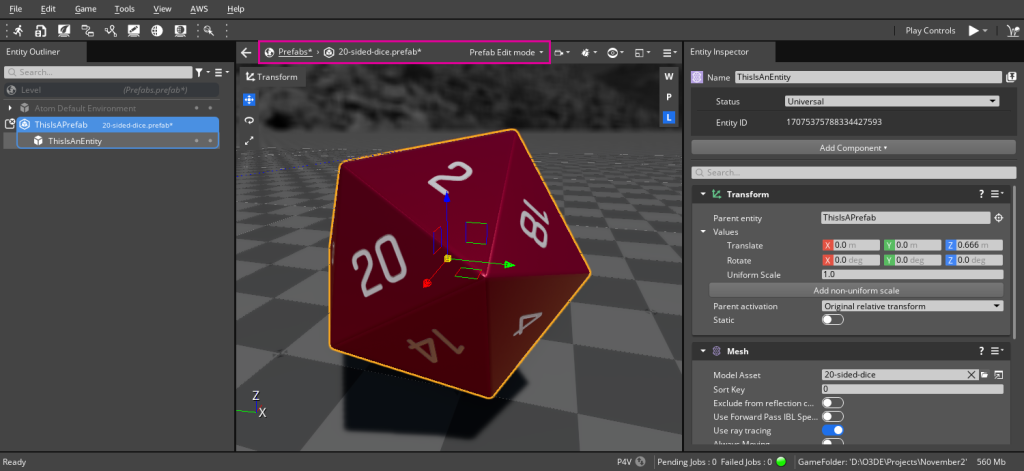
To create a multiplayer game in Unity, developers need to set up player prefabs that can be instantiated for each connected client. These prefabs serve as the foundation for representing players in the networked environment. When creating player prefabs, it’s crucial to consider the components required for networking and movement.
Adding Network Components
The first step in creating a player prefab is to add the necessary network components. The most important component is the NetworkObject, which allows the prefab to be synchronized across the network. To add this component:
- Create a new GameObject in the Unity hierarchy.
- Add the NetworkObject component to the GameObject.
- Ensure the NetworkObject is placed on the root of the prefab.
In addition to the NetworkObject, developers may need to add other network-related components such as NetworkTransform for position synchronization or NetworkAnimator for animation synchronization. These components help maintain consistency across all clients in the multiplayer game.
It’s important to note that when using Unity’s networking solution, Mirror, the process of adding network components remains similar. Mirror provides its own set of components that are compatible with Unity’s networking system, making it easier to integrate into existing projects.
Implementing Basic Player Movement
Once the network components are in place, the next step is to implement basic player movement. This involves creating a script to handle player input and movement, and ensuring it works correctly in a networked environment. Here’s a basic approach to implementing player movement:
- Create a new script called PlayerMovement and attach it to the player prefab.
- Implement input handling using Unity’s Input system or the new Input System package.
- Use a CharacterController or Rigidbody component to handle physics-based movement.
- Ensure movement is only processed on the client that owns the player object.
When implementing movement in a multiplayer game, it’s crucial to consider network latency and synchronization. Developers often use techniques like client-side prediction and server reconciliation to provide a smooth experience for players.
To make the player prefab ready for multiplayer, developers need to register it with the NetworkManager. This can be done by adding the prefab to the NetworkManager’s list of spawnable prefabs. Once registered, the NetworkManager can instantiate the player prefab for each connected client when they join the game.
By carefully creating and configuring player prefabs with the necessary network components and movement scripts, developers lay the groundwork for a functional multiplayer game in Unity. This approach ensures that players can interact with each other in a synchronized and responsive manner across the network.
Synchronizing Player Movement Across the Network
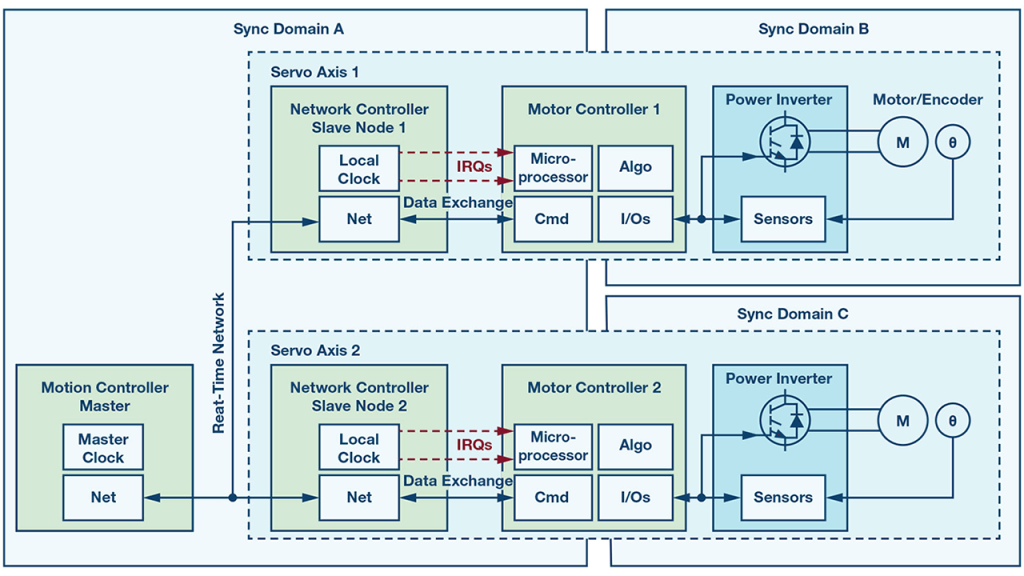
Synchronizing player movement is a crucial aspect of creating a multiplayer game in Unity. It ensures that all players see the same game state, regardless of their network conditions. This section will explore two key techniques for achieving smooth and accurate player movement synchronization: using NetworkTransform and implementing client-side prediction.
Using NetworkTransform
NetworkTransform is a powerful component provided by Unity’s Netcode for GameObjects that handles many of the complex aspects of transform synchronization. To use NetworkTransform effectively:
- Add the NetworkTransform component to the player GameObject.
- Ensure there’s a NetworkObject component on the same GameObject or a parent.
- Configure the NetworkTransform properties in the Inspector.
One important setting to enable is “Client Authority.” This allows the client to have control over their own player’s movement, reducing latency and improving responsiveness. The sync settings can be adjusted to balance between update frequency and network usage. A lower sync interval means quicker updates but higher bandwidth consumption.
NetworkTransform supports synchronizing position, rotation, and scale. However, it’s often unnecessary to sync all transform values. Developers can choose which axes to synchronize, potentially reducing network traffic. Threshold values can be set to minimize updates for small changes, further optimizing performance.
By default, NetworkTransform uses interpolation to smooth out movement on non-authoritative instances. This helps prevent visual “jitter” or sudden “jumps” in position, especially when dealing with network latency. However, interpolation is only applied client-side, so developers might need to implement server-side interpolation for smoother movement on the host or server.
Implementing Client-Side Prediction
While NetworkTransform provides a solid foundation for movement synchronization, implementing client-side prediction can significantly enhance the player experience, especially in fast-paced games. Client-side prediction allows the client to run the same simulation as the server for the local player, reducing input latency.
To implement client-side prediction:
- Create a prediction system that runs at a fixed timestep on both client and server.
- Apply the latest received snapshot from the server to predicted entities.
- Run the prediction loop from the oldest applied tick to the current prediction target.
- Use GhostPredictionSystemGroup to manage the prediction process.
It’s crucial to ensure that the prediction code is deterministic, meaning it produces the same results on both client and server given the same inputs. This allows the client to accurately predict future states and reconcile any differences when receiving server updates.
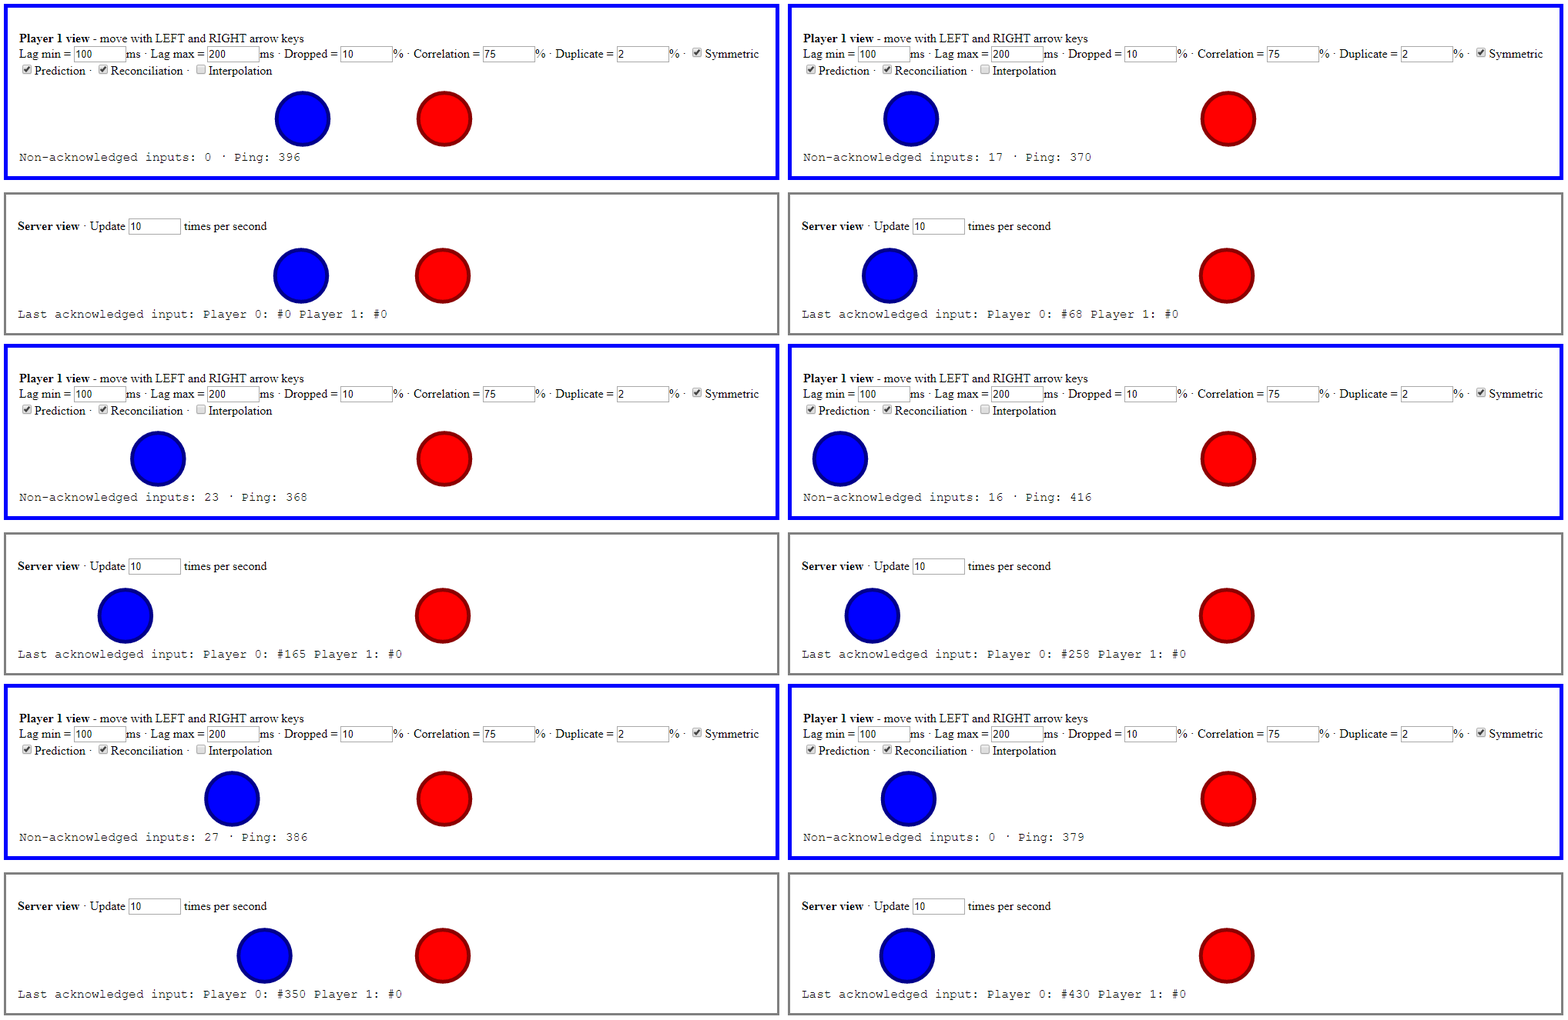
When implementing client-side prediction, developers should be aware of potential issues such as:
- Handling network latency and packet loss
- Reconciling differences between predicted and actual server states
- Balancing between responsiveness and accuracy
By combining NetworkTransform with client-side prediction, developers can create a smooth and responsive multiplayer experience in Unity. These techniques help mitigate the effects of network latency and provide players with a more enjoyable gameplay experience.
Implementing Network Variables for Game State
Network variables are a crucial component in Unity multiplayer game development, allowing developers to synchronize game state across all connected clients. These variables provide a persistent way to share information, ensuring that all players have access to the same data throughout the game session.
Creating Custom Network Variables
To create custom network variables in Unity, developers can derive from the NetworkVariableBase class. This approach allows for more advanced implementations tailored to specific game requirements. When creating a custom NetworkVariableBase-derived container, it’s essential to override certain methods:
- WriteField(FastBufferWriter writer)
- ReadField(FastBufferReader reader)
- WriteDelta(FastBufferWriter writer)
- ReadDelta(FastBufferReader reader, bool keepDirtyDelta)
These methods define how the network variable is written to and read from the network buffer. Developers can refer to existing implementations like NetworkVariable or NetworkList to understand how these methods are typically implemented.
When working with custom network variables, it’s important to consider the type of data being synchronized. For known, non-generic types, developers can use FastBufferReader.ReadValue and FastBufferWriter.WriteValue methods. Integer types offer the option to use BytePacker and ByteUnpacker for compression, which can save bandwidth at the cost of increased CPU processing time.
For generic types, Unity generates serializers based on types discovered during compile-time code generation. Developers can use attributes like GenerateSerializationForTypeAttribute and GenerateSerializationForGenericParameterAttribute to inform Unity which types to serialize.
Synchronizing Game Data
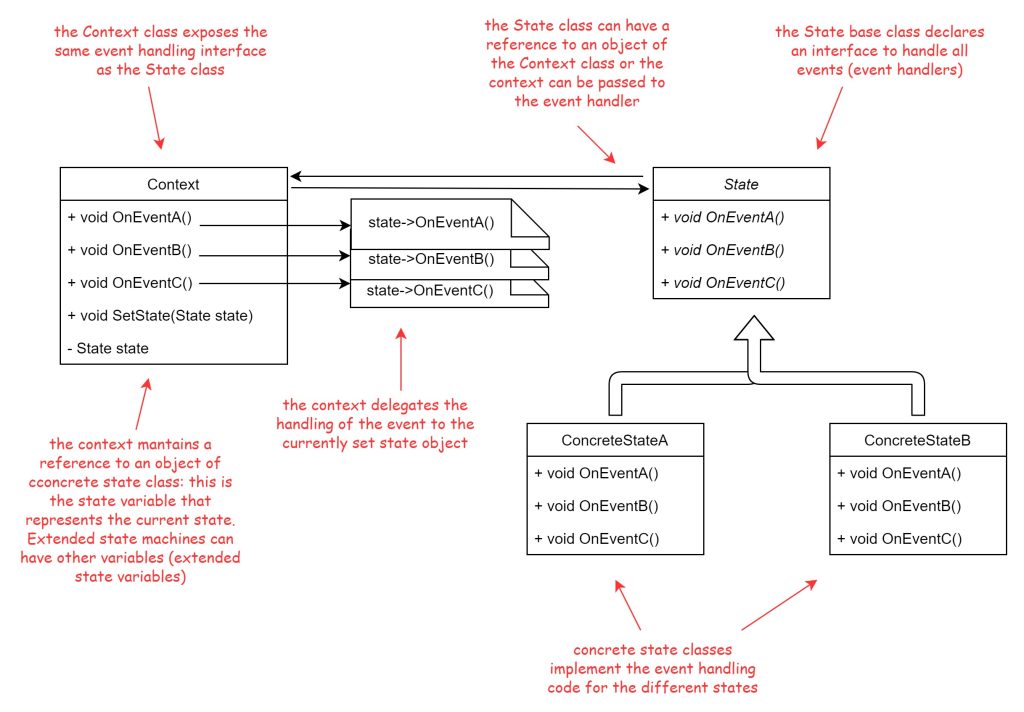
Synchronizing game data using network variables is a fundamental aspect of creating a multiplayer Unity game. Network variables are particularly useful for persistent states, such as player health, scores, or game world conditions that need to be consistent across all clients.
When implementing network variables for game state synchronization, it’s crucial to consider the following:
- Initialization: Network variables must be initialized with a default value upon creation. This ensures that all clients start with the same initial state.
- Permissions: Developers can control read and write permissions for network variables. By default, in a client-server context, the server has both read and write permissions, while clients have read-only permissions.
- Efficiency: Network variables are designed to be eventually consistent, meaning not all value changes will be synced immediately. This approach helps save bandwidth by only sending values when the data has changed significantly.
- Late-joining clients: When new players join an ongoing game, network variables automatically synchronize their current state, ensuring that late-joiners receive an up-to-date world state.
- Custom implementations: For complex game states, developers can create custom network variable types to handle specific synchronization requirements.
By leveraging network variables effectively, developers can create robust multiplayer experiences in Unity, ensuring that all players share a consistent game state throughout their gameplay sessions. This approach forms the foundation for building engaging and responsive multiplayer games using Unity’s networking capabilities.
Using Remote Procedure Calls (RPCs) for Multiplayer Actions
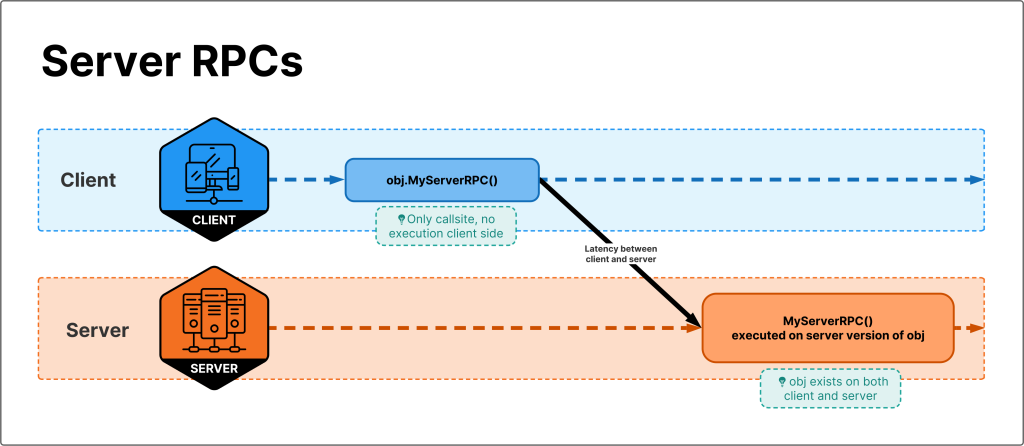
Remote Procedure Calls (RPCs) are a crucial component in Unity multiplayer game development, allowing communication between clients and the server. RPCs enable developers to send messages from clients to the server to execute specific logic, and vice versa. This functionality is essential for creating interactive multiplayer experiences in Unity games.
Server RPCs vs Client RPCs
Server RPCs are methods that can only be invoked by clients and are executed on the server or host. To create a Server RPC, developers need to add the [ServerRpc] attribute above the method and ensure the method name ends with the “ServerRpc” suffix. By default, Server RPCs require ownership, meaning only the client that owns the associated NetworkObject can invoke them.
For example:
[ServerRpc]
public void MyServerRpc(ServerRpcParams serverRpcParams = default)
{
    // Server-side logic here
}
Client RPCs, on the other hand, are methods that can be called by the server and executed on all clients. To create a Client RPC, developers use the [ClientRpc] attribute and include the “ClientRpc” suffix in the method name. When a server calls a Client RPC, it runs the method on all connected clients.
For instance:
[ClientRpc]
public void MyClientRpc(ClientRpcParams clientRpcParams = default)
{
    // Client-side logic here
}
It’s important to note that clients cannot communicate directly with each other; all communication must go through the server. This architecture ensures that the server maintains control over the game state and prevents cheating or inconsistencies.
Best Practices for Using RPCs
When implementing RPCs in Unity multiplayer games, developers should follow these best practices:
- Use appropriate attributes: Always use the correct attributes ([ServerRpc] or [ClientRpc]) and method suffixes to ensure proper RPC functionality.
- Consider ownership: For Server RPCs, decide whether to require ownership or allow any client to invoke the method by setting the RequireOwnership parameter.
- Use RpcParams: Utilize ServerRpcParams or ClientRpcParams to identify the sender or specify target clients, respectively.
- Avoid recursive calls: When running as a host, be cautious of design patterns that could lead to infinite recursion, such as a ClientRpc invoking a ServerRpc that calls the same ClientRpc.
- Optimize performance: For non-critical actions like spawning particle effects or playing sound effects, consider using unreliable RPCs to improve performance.
- Add comments: Include clear comments in your code to explain the purpose and functionality of each RPC, making it easier to understand and maintain the codebase.
- Use RPCs judiciously: Avoid calling RPCs in Update functions, as this can lead to excessive network traffic and performance issues.
By following these best practices, developers can create efficient and reliable multiplayer games using Unity’s networking capabilities. RPCs provide a powerful tool for implementing various multiplayer actions, from character selection to gameplay interactions, ensuring a smooth and synchronized experience for all players.
Testing and Debugging Your Multiplayer Game
Testing and debugging a multiplayer game in Unity presents unique challenges that require specific tools and techniques. Developers need to run multiple instances of the game simultaneously to test multiplayer scenarios, iterate quickly on custom code and asset changes, and debug work using Unity’s editor tools.
Using the Network Profiler
The Network Profiler is a powerful tool for measuring the performance of a multiplayer game built using Netcode for Game Objects. It allows developers to profile the networking activity of their game within the same profiler used for CPU, GPU, and memory profiling. To enable profiling support for Netcode, developers must install the Multiplayer Tools package.
The Network Profiler samples data by frame rate, which may result in spiky graphs. It provides valuable information about various network-related metrics, including:
- Total bytes sent and received per frame
- Named and unnamed message bytes sent and received
- Scene event bytes sent and received
- Remote Procedure Call (RPC) bytes sent and received
- Network variable delta sent and received
- Object spawned and destroyed events
To make the optimization process easier, developers can use filter rules to narrow search results. For example, they can filter by type, direction (incoming or outgoing), or byte size. Combining these rules allows for more focused analysis of network performance.
Common Multiplayer Issues and Solutions
When developing multiplayer games in Unity, several common issues may arise. Here are some problems and their solutions:
- NullReferenceException when starting a server, host, or client: This issue often occurs when the NetworkManager component is not added to a game object in the scene. Ensure that the NetworkManager is properly set up in the Unity hierarchy.
- NullReferenceException when sending an RPC to the server: This problem typically arises when an object has not been spawned on the network. Make sure to call the Spawn() method on the NetworkObject component as the server to resolve this issue.
- Server build using 100% CPU: Unity server builds attempt to maximize Updates per second, which can lead to high CPU usage. To mitigate this, limit the target frame rate using:
Application.targetFrameRate = 30; - Synchronization issues: When working with network variables, ensure that they are properly set up as server-side or client-side. Incorrect setup can lead to synchronization problems across clients.
- Debugging multiplayer scenarios: Use tools like ParrelSync or the Multiplayer Play Mode package to simulate multiple players on the same development device. This approach allows for quicker iteration and easier debugging using Unity’s editor tools.
- Network latency and packet loss: Utilize artificial network conditioning tools to simulate various network conditions. This helps uncover issues that may be hidden when running instances locally with minimal lag.
- Timeout during debugging: When using breakpoints to debug a client or server, connections may time out. Temporarily increase the timeout value to avoid disconnecting during extended debugging sessions.
By leveraging these tools and techniques, developers can effectively test and debug their multiplayer Unity games, ensuring a smooth and synchronized experience for all players. Remember to profile regularly, especially after implementing new features or refactoring existing ones, to maintain optimal performance in your multiplayer game.
Conclusion
Transforming a single-player Unity game into a multiplayer experience opens up a world of possibilities for game developers. By following the steps outlined in this guide, developers can set up their projects, create player prefabs, synchronize movement, and implement network variables and RPCs. This process has a significant impact on the way games are designed and played, allowing for more engaging and interactive experiences.
To wrap up, mastering multiplayer game development in Unity requires patience, practice, and a deep understanding of networking concepts. The journey from a single-player to a multiplayer game involves careful planning, thorough testing, and ongoing optimization. As developers continue to push the boundaries of what’s possible in multiplayer gaming, Unity remains a powerful tool to bring these ambitious projects to life, connecting players across the globe in shared virtual worlds.
FAQs
- How can I create a multiplayer game using Unity? To create a multiplayer game in Unity, begin by setting up your Unity project for multiplayer functionality. This includes installing required packages and configuring the network manager. You will also need to create and configure player prefabs, synchronize player movements across the network, implement network variables for game state management, and use remote procedure calls (RPCs) for multiplayer actions.
- How do I allow others to join and play my Unity game? To enable others to join and play your Unity game, you can invite individuals with a Unity ID to your project. From the Users section, select “Also assign a Unity Teams Seat to this user” and click “Add”. This action assigns a Unity Teams seat to the user, allowing them to participate in your game project.
- What steps are involved in setting up a system to play with friends in Unity? To play with friends in Unity, you need to set up a friends management system through the Unity Cloud Dashboard. Navigate to cloud.unity.com, select the “Products” tab, and under “Gaming Services” choose “Community”. From there, go to “Friends” and select “Launch” to manage your friends’ settings.
- How do you develop a cooperative multiplayer (co-op) mode in Unity? Developing a co-op mode in Unity involves similar steps to creating any multiplayer game. This includes setting up the Unity project for multiplayer, configuring network settings, synchronizing player data, and ensuring that all players can interact cooperatively in the game environment. Implementing specific gameplay mechanics that promote cooperative play can further enhance the experience.
- Where can I find resources to help me start making a multiplayer game in Unity? If you’re new to multiplayer game development in Unity, several resources can help you get started. Look for online tutorials, videos, and Unity’s official documentation. These resources can provide guidance on installing necessary packages, setting up network components, and handling player interactions in a multiplayer context.

